Publish and Share Your Own Website for Free with GitHub

GitHub is not only a great place to store and share your code with others but they also offer free we b hosting of your HTML, CSS, and Ja vaScript projects!
In this article I'll show you how to get setup in order to publish and share your own static HTML website on GitHub using the GitHub Desktop app! 🚀
1. Create a GitHub account
First thing's first: get yourself a GitHub account ! You won't have access to the free hosting or any other awesome features GitHub has to offer without one .
With a GitHub account you'll also be able to chat with other web developers, such as yourself, through Issues, and contribute to other open source projects !
2. Download and install the GitHub Desktop app
This is the app that we'll use to get our code up on GitHub. It's easy to use so don't fret; the user interface is easy to learn!
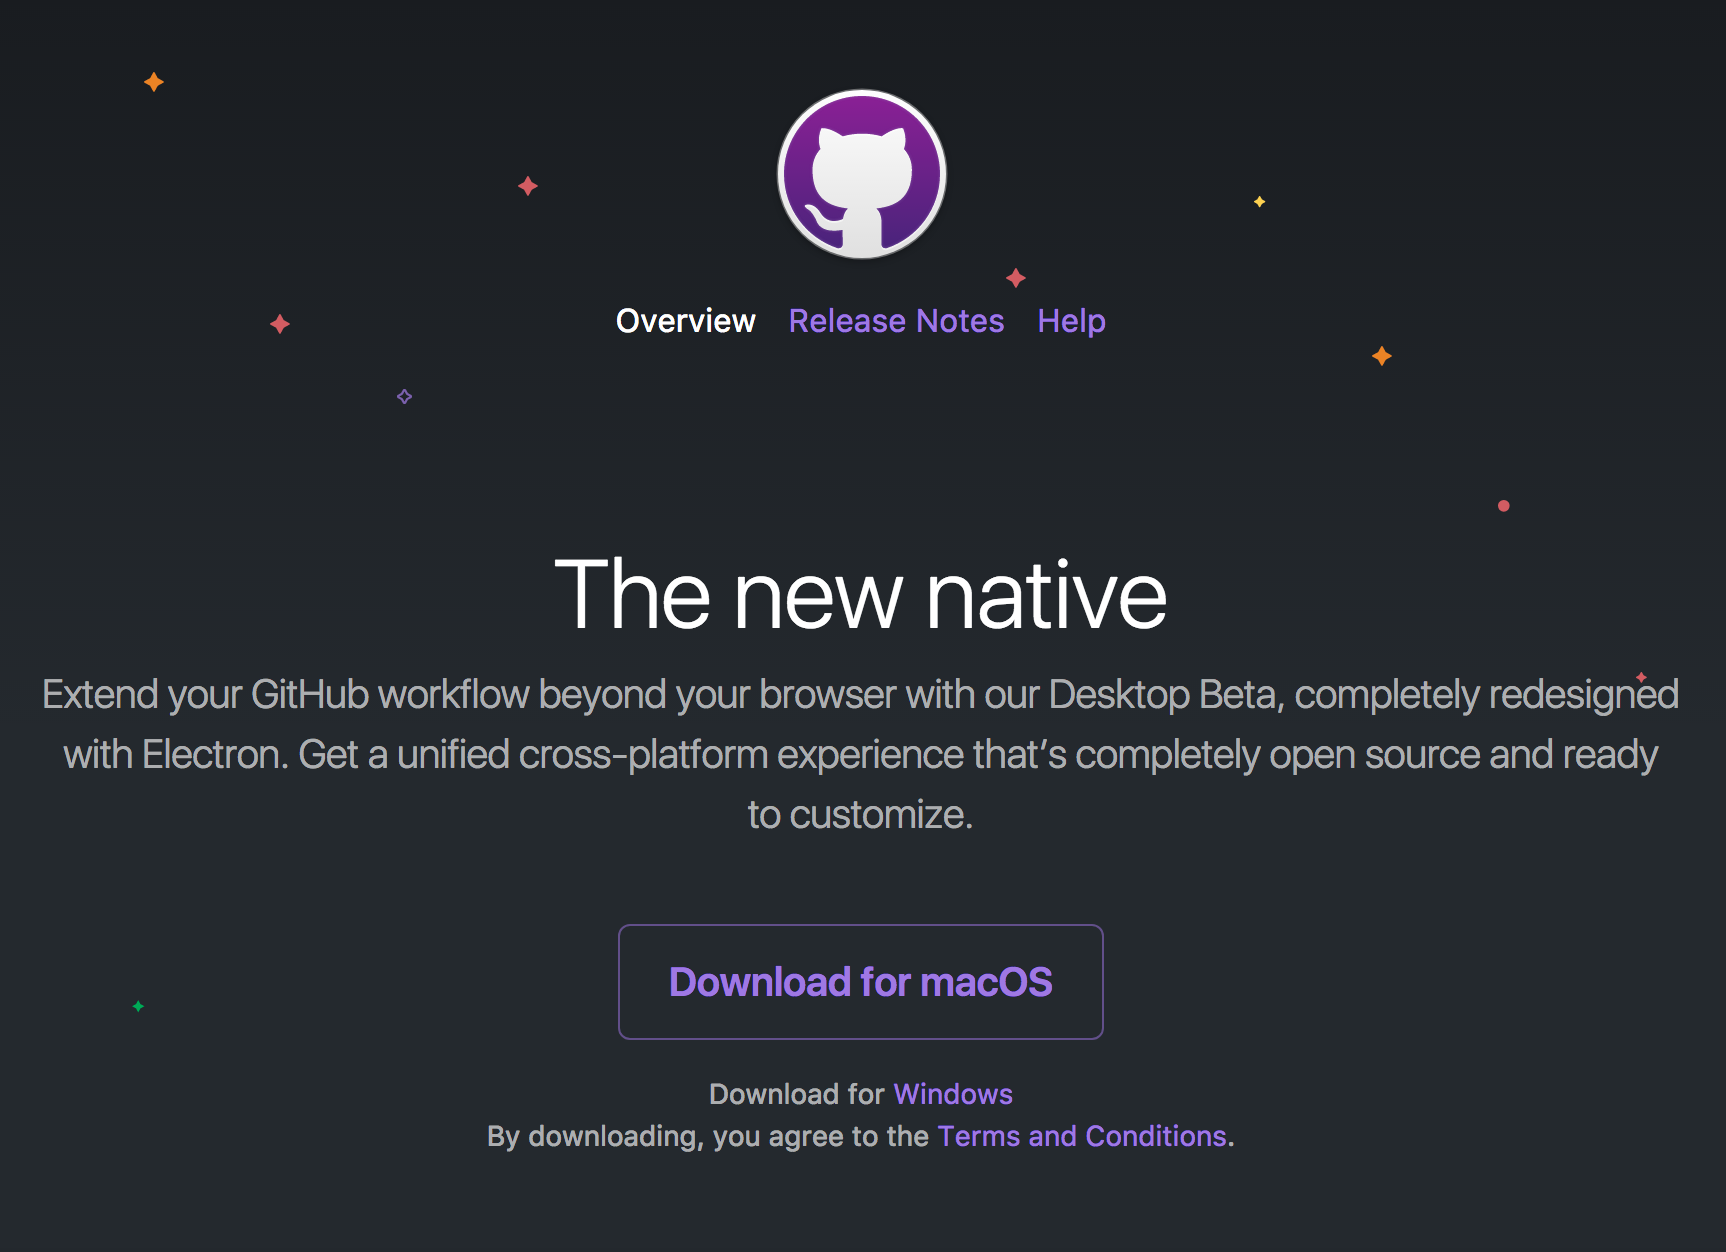
(If these links don't work, explore the GitHub Desktop homepage.)
Open the downloaded application file and continue through the installation process as required with your computer's operating system.
Next, we'll be creating a new GutHub project!
3. Create a new GitHub project
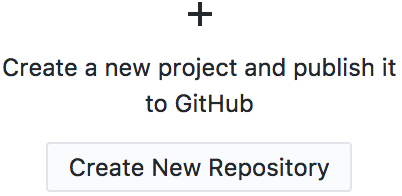
Before we upload our code to GitHub we first need to make GitHub Desktop aware of our project files. We do this by creating a new Repository folder, then copy our website files to this new folder.
3.1 — Open up the GitHub Desktop app and click the "Create New Repository" button .
3.2 — When the "Create a New Repository" dialog window appears, fill in the "Name" text input as:
[username].github.io
Replace [username] with your GitHub account username.
Note: It's very important to name your repository in this manner; this will tell GitHub to host the files in this project automatically and display them when someone points their browser to:
https://[username].github.io/
This will be the web address you will share when your site is ready to publish and go live!
3.3 — The "Local Path" text input is where your repository will live on your computer; this is not where your website files currently reside on your computer's hard drive. GitHub Des ktop needs to create a new, empty folder.
We'll need to copy your site files over later, but for now , select a folder such as /Sites in your home folder. This will create a new folder inside the /Sites folder with the name of your repository, which will look like:
/Sites/[username].github.io
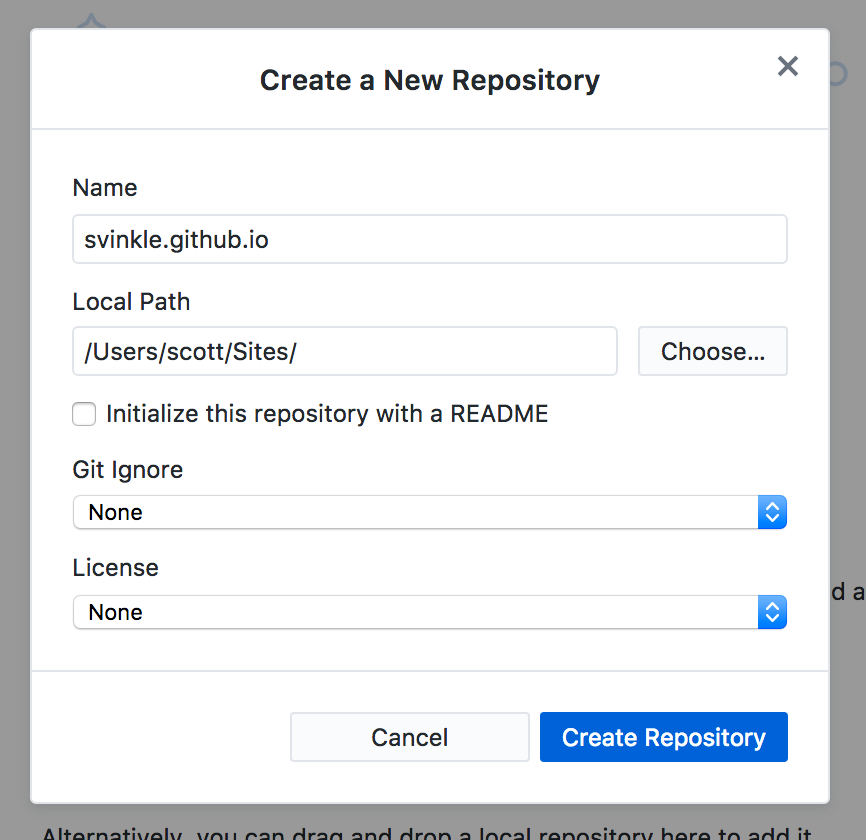
3.4 — Leave all the other options in the form at their default settings and click the "Create Repository" button . For now we just want to create the folder which GitHub Desktop will recognize as a folder it can work with. For the sake of the guide, let's describe this new folder as your GitHub Repository folder.
After your GitHub Repository folder has been created by clicking the "Create Repository" button , the GitHub Desktop app should look something like this:

4. Copy your files to the new Repository folder
Let's say up until now you've been working on your website in a folder located at /Documents/my-site ; we'll describe this as your working folder . Within this working folder there's probably some files and folders named index.html , /css , or /javascript . What we ne ed to do is copy everything from the working folder over to our new GitHub Repository folder.
In the previous step, we created the GitHub Repository folder inside the /Sites folder with the name, [username].github.io . So, this means the GitHub Repository folder should be located at /Sites/[username].github.io .
4.1 — Copy everything in your working folder ( /Documents/my-site for example) into your GitHub Repository folder ( /Sites/[username].github.io ).
The GitHub Desktop app should now look something like this:
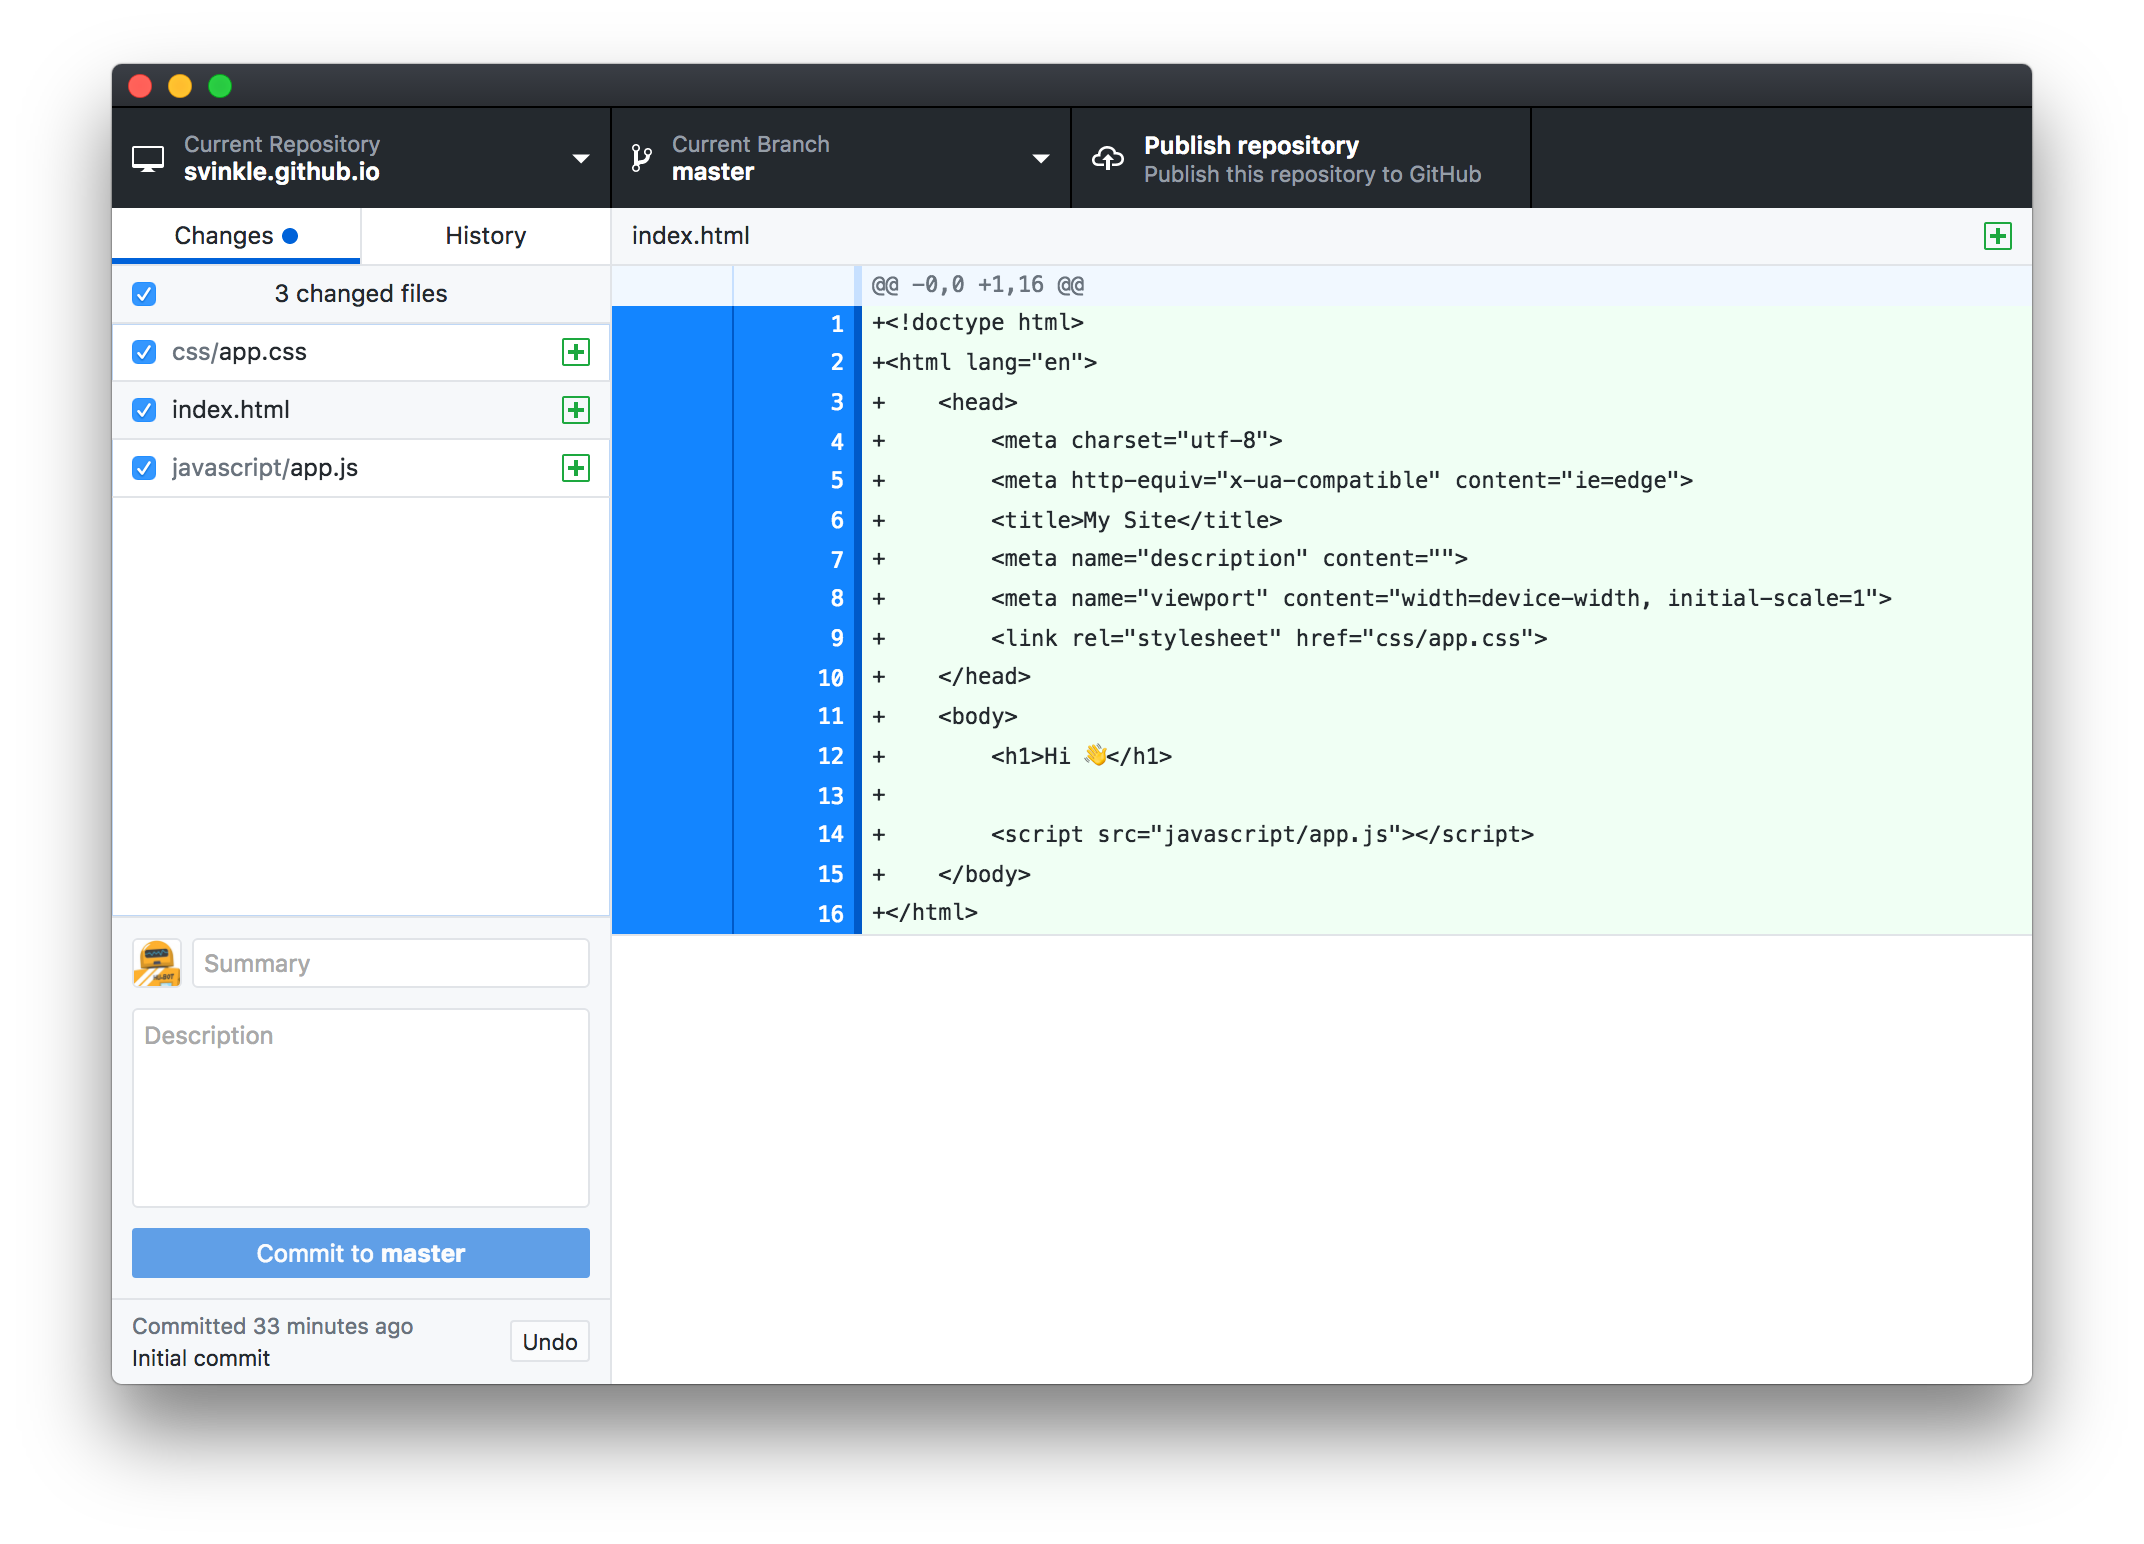
With all our files in the GitHub Repository folder, we're ready to commit our files!
To " commit" files means to take a "snapshot" of the files and folders in their current state. By doing so, we get them ready to be pushed up to a repository on GitHub.
4.2 — Before we commit our files for publishing, we first need to tell GitHub what this commit is all about. Fill in the "Summary" text input , located near the bottom left of the user interface, with a high-level title of what this commit entails; something simple like, "My first commit! 😀" works just fine in this instance.
Optionally, you can add more details about the commit in the "Description" text box . Usually you'd want to include things like what changed; maybe you fixed a bug or added some new content. It's great to have these notes available for other developers or even future you to make sure you know why you made those changes oh so long ago!
Once the "Summary" and optional "Description" fields are filled out to your liking, click the "Commit to master" button !
5. Publish your website
After clicking the "Commit to master" button in the previous step, you may be wondering:
What just happened? My files are gone and the app is empty now!
Don't fret! In the bottom left corner of the GitHub Desktop interface there's a little indicator that your commit was successful.

Now that our files are committed, this allows us to push our commit to GitHub!
To "push" files means to upload the committed files in their current state to a repository on GitHub.
5.1 — Find the "Publish repository" button along the top of the GitHub Desktop interface.
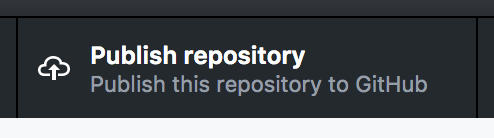
Go ahead and click this to send your files to GitHu…
Oh wait , we haven't logged in to GitHub from within the GitHub Desktop app yet! Let's do that, first…
record scratch
5.05 — When the "Publish Repository" dialog window appears after clicking the "Publish repository" button , it will first prompt you to sign-in to GitHub if you haven't yet already.
Click the "Sign In" button to show the "Sign In" dialog window; fill in your Username and Password and click the "Sign In" button to complete the process. You should now be logged in and good to proceed!

5.1, take 2 — Now that we're signed in to GitHub, go ahead and click the "Publish repository" button to begin the upload process.
5.2 — The "Publish Repository" dialog window will appear with a last few options for you to choose from before placing your website live.
All the options in the form are fine as-is except the "Keep this code private" checkbox ; this needs to be unchecked in order for you to share your site with friends and family.

5.3 — Click the "Publish Repository" button to send your files up to GitHub!
Now, in your browser, go to your new GitHub repository page to make sure your files made the journey to their new home:
https://github.com/[username]/[username].github.io
Are all your files present and accounted for? Good! Nice job! 👍
6. Share your website!
The very last step is to get excited and check out your website in your browser! Surf on over to:
https://[username].github.io/
Your website should appear before your very eyes! ✨😄✨

Congrats! You're all set! You now know how to:
- Create a new GitHub repository
- Commit files to said repository, and
- Push files up to GitHub!
From here you can see your files are on GitHub and you can view your project in the browser!
Whenever you want to make changes to your website, you just need to commit the changes and then push the files up to your GitHub repository. Your changes will be published automatically!
Don't forget to share your new, beautiful creation on your social media channels for some ❤️, or just send an email to your Mom. Either way, great work ! 🎉
Consider sharing or writing about your recently gained knowledge and experience with others so that they, too, will have the knowledge and confidence to publish and share their own creations! 🙂
Let me know if I missed any steps, if something didn't work out quite right for you, or if this guide was helpful! Thank you for reading!
Happy hacking! 💻😄💖