
I've been mentoring with the Ladies Learning Code organization recently and it's been great! Helping people learn new skills and sharing those "aha!" moments with new learners is a pretty awesome feeling.
After I mentor at a learning event I often think of ways to alleviate some of the bottlenecks for students. Tools like text editors shouldn't get in your way of learning new skills. So, after this last event I ended up writing three tips when using Atom for the students, or anyone really. I hope they help!
1. Save automatically when switching windows
We all know we should "save early, save often," right? Though, sometimes we forget then try to figure out why our code changes we just made aren't showing up! Here's a tip to have Atom automatically save your work each time you switch to a different window on your computer, like switching to refresh your project in the Chrome browser !
Let's setup Atom to save your work automatically.
- If you're on a Mac go to
Atom > Preferences > Packages - If you're on Windows go to
File > Settings > Packages - If you're on Linux go to
Edit > Preferences > Packages
From here, you can use the filter to search for the package, "autosave." You should see something like this:
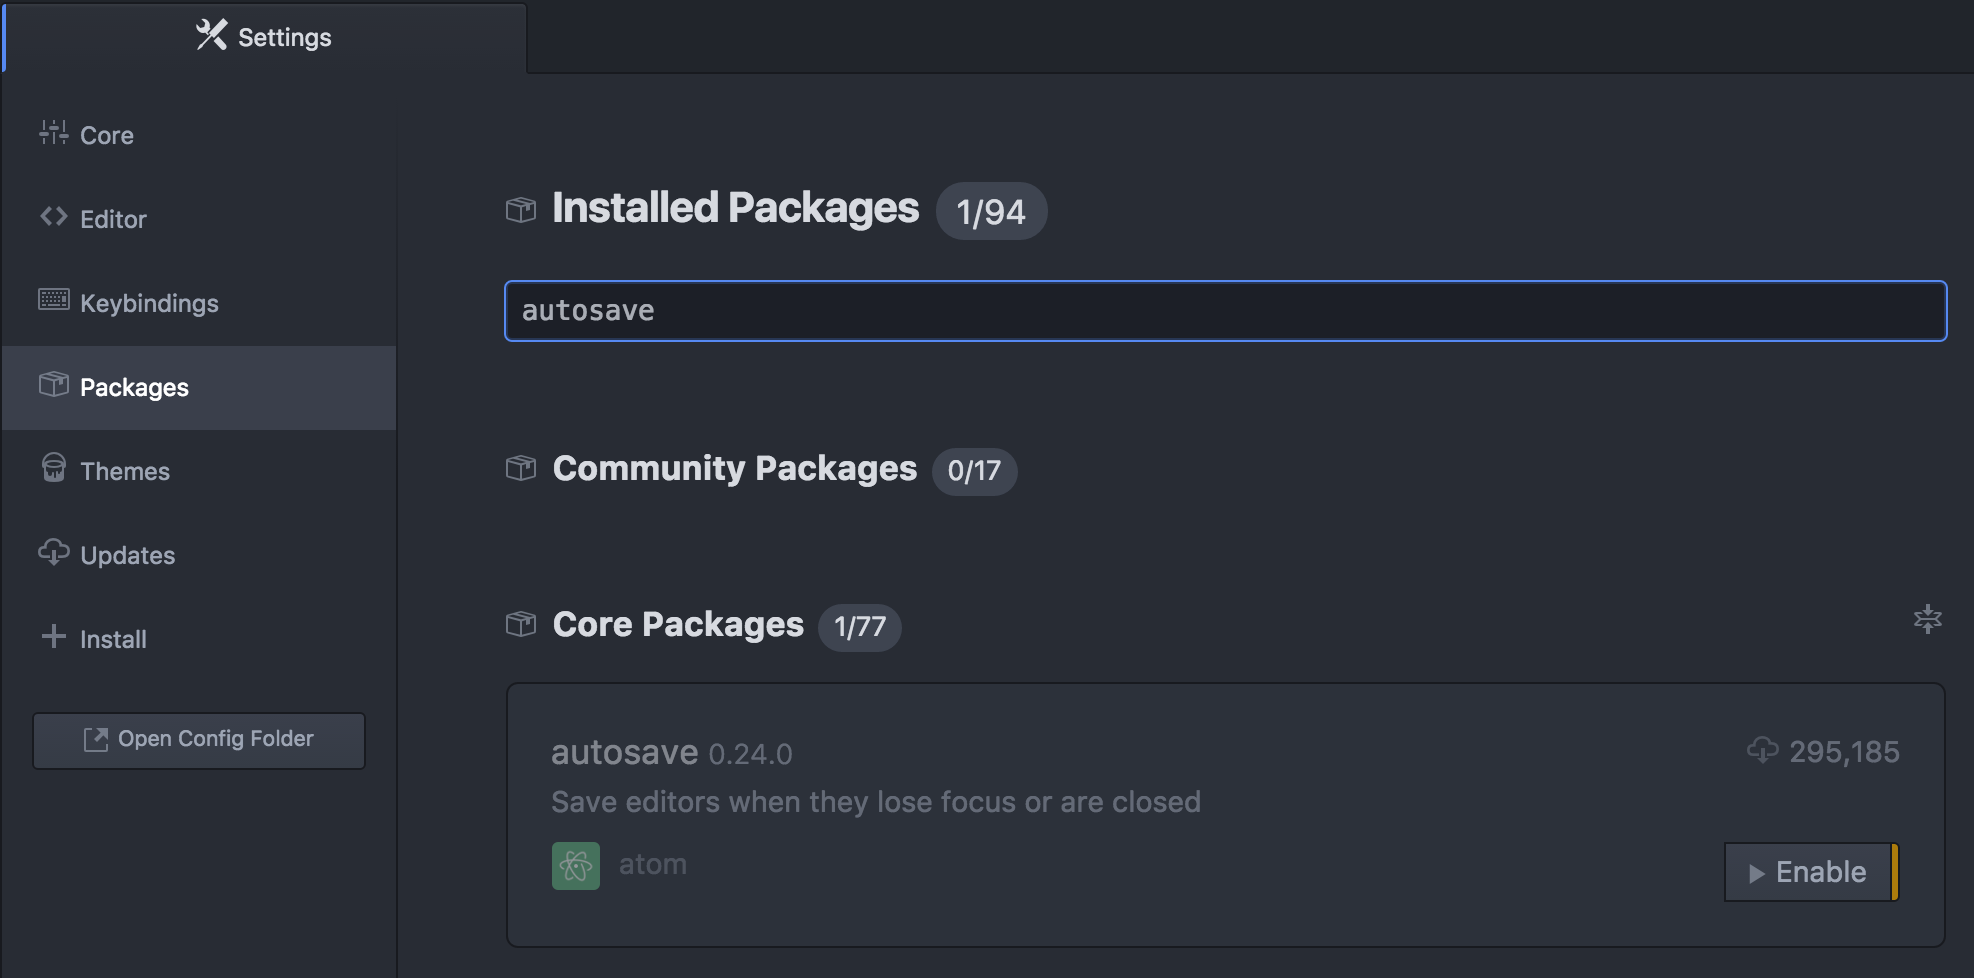
Go ahead and click the Enable button. Now every time you switch windows on your computer, Atom will save your latest changes automatically! Productivity levelled up! 💯
2. Type less with Code Snippets
Code snippets are a great way to help save you time by typing less. Each snippet consists of small, repeatable bits of code, and when used in your project, they help to fill in the unique parts. For example, if you need to add a new CSS break point for your Responsive Design website, you'd have to type something this:
@media (max-width: [break point]px) {

}
That's a lot to remember and the exact syntax can be tricky. Let's use a Snippet to get it right the first time!
There are a few bits of text in order to create a snippet.
- The first part is the type of file you will be using the snippet in. For the break point example, you'll be adding this to your CSS files. So, the first line of the snippet will be,
'source.css':. This tells Atom to only use the snippet in CSS files. - Next, let's give the snippet a label . When you start to type in the CSS file, Atom shows a list of snippets available to use. Let's call the snippet, "Break Point!" With the label text decided, the second line of the snippet will be,
'Break Point!':. - Now let's add the actual text that we'll type in order for Atom to know when to insert the snippet. Keeping things simple, let's add this third line to our snippet,
'prefix': 'breakpoint'. With this in place, we can type "breakpoint" and Atom will show the snippet in the list to choose from. - The last part of the snippet is the code that gets inserted into your CSS files. This is added to the
'body':portion of the snippet. I'll show this part in the final snippet below, but what's important to know is the bits that look like$1and$2. What are those for? These represent tab stops . Our keyboard cursor will follow along the tab stops, in the order specified, making filling in the rest of the code snippet easy. After filling in the first tab stop, themax-widthvalue, just hit the Tab key to move to the next tab stop. From here, you can easily add the CSS that will help style your website when this break point is reached.
The completed snippet
Here's what the final snippet looks like:
'.source.css':
 'Break Point!':
 'prefix': 'breakpoint'
 'body': """
 @media (max-width: $1) {
            $2
 }
 """
Now all of the pieces have come together to form our "Break Point!" snippet. All that needs to be done now is to add the snippet to Atom.
- If you're on a Mac go to
Atom > Snippets - If you're on Windows go to
File > Snippets - If you're on Linux go to
Edit > Snippets
Go ahead and copy the snippet code above into your Snippets file and save. Now, when you start to type "breakpoint" within a CSS file, a menu should appear with our snippet labelled, "Break Point!" Hit the Tab key to insert the snippet and fill out the rest using the handy tab stops!

Phew! I'll admit, setting up your first snippet is a bit of work, but it's totally worth it to save all the typing you'd have to do in the future! 👍
Learn more about snippets on the Atom Snippets manual page.
3. Copy and Paste file paths
When working with the files in your project, it can be a little difficult to get the path to a file just right. For example, to set a background image in your CSS file you need to type out the relative path from the CSS document to the image file within your project. How often have you refreshed your browser only to see your image nowhere in site? Frustrating, I know.
Here's an Atom package that helps with this very situation: ⚛️ tree-view-copy-relative-path .
With this package installed, all you'd need to do is right-click your image file in the Project Tree, click "Copy", and then "Paste" the path to the file directly into your CSS code. Much easier!
Installing Atom packages
Here's how to install the package.
- If you're on a Mac go to
Atom > Preferences > Install - If you're on Windows go to
File > Settings > Install - If you're on Linux go to
Edit > Preferences > Install
From here, you can use the filter to search for the package, "tree-view-copy-relative-path." You should see something like this:
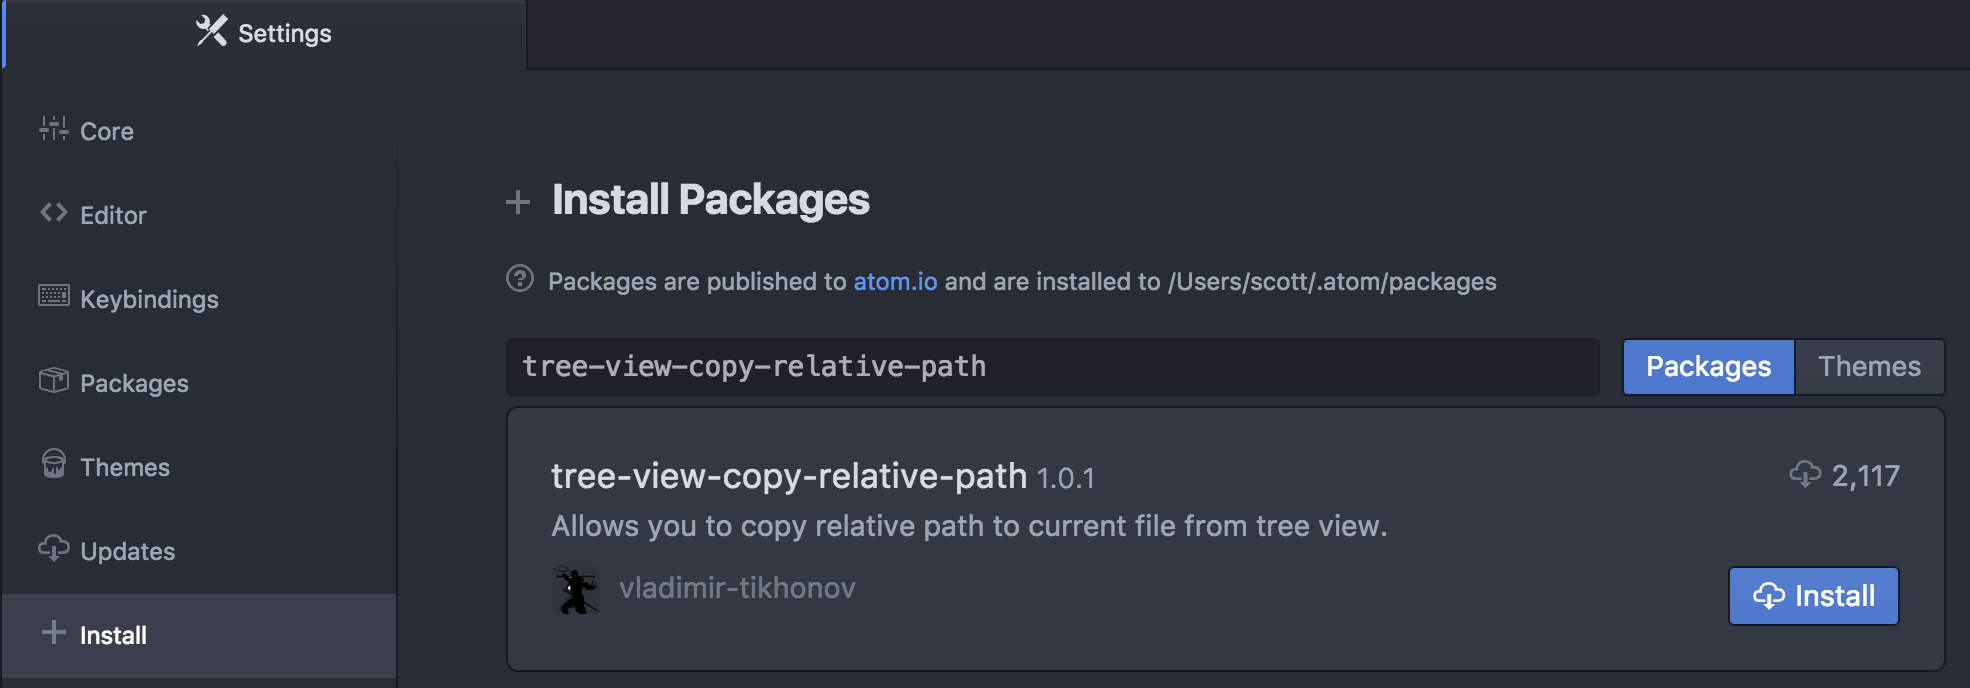
After clicking the Install button, you should now be able to right-click a file in your Project Tree in the left bar and see a "Copy Relative Path" option in the context menu. Now, it's only a matter of pasting in the path into the code editor and you're all set! 💪
I hope these few Atom editor tips come in handy the next time you're working on a project or learning new skills at any coding event in your town! 💻😎